This post is a break from the normal kind of content I post here, but one that I thought might be helpful to fellow photographers and filmmakers who have a bit of DIY spirit in them.
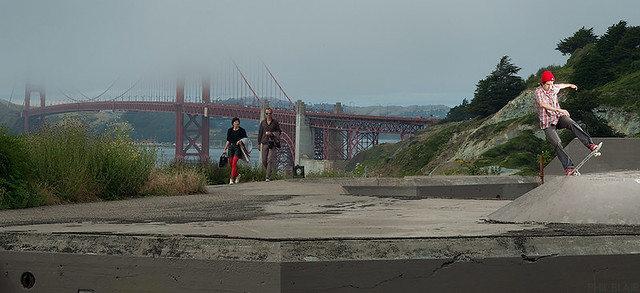
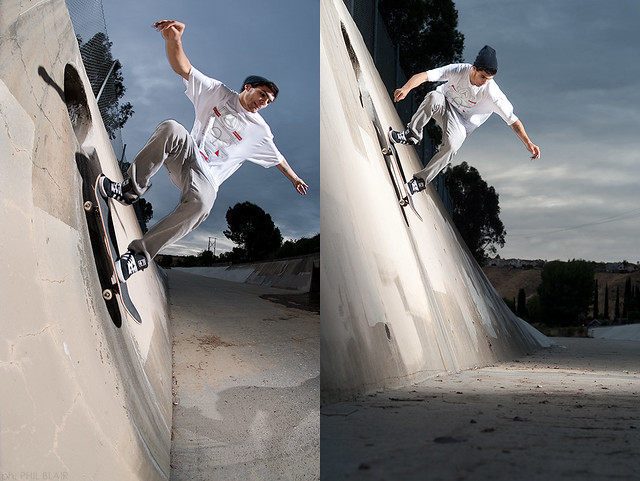
I now live in California but I grew up in Chicago, and while most true Chicagoans know that our Windy City moniker had more to do with our politicians than our weather, it does in fact get pretty windy in our Midwestern city. Inclement weather has never done much to keep Chicago skateboarders indoors or off our boards, and on an especially windy day last spring I was reminded why I had been meaning to make some sandbags when a gust toppled one of lightstands, along with the flash that was atop it.
Sandbags (
like these) are a staple on photo and video production sets to keep things from toppling over, and protect both the expensive gear and the people beneath it. It makes sense to me that when setting up 8 foot tall lightstands around fast-moving skateboards one should do something to ensure those stands stay upright. The store-bought sandbags are great, but I couldn't bring myself to pay $30 a piece for a zippered sack, so I set out to make some of my own, and thought I would share my process with whoever reads this blog.
Calling these "DIY" might conjure images of two rocks with a string between them, but my goal was to make some sandbags as close to the store-bought quality as possible. That said, I am by no means a skilled seamster, so this project is nothing you can't do with your mom's sewing machine and a 5-minute introduction on how to use it.
1. For the size I determined would be best for my stands and purposes you will start with two 11"x17" rectangles of Cordura, or a similar fabric. I got mine on eBay for about $5 per yard, and one yard is way more than enough to make a few sandbags.
Put right-sides (the the side of the fabric you want to face out) together and pin them. Sew along one long edge about 1/2" form the edge. (If you know what basting is, do that here, if not, normal sewing is fine.)
2. Remove the pins and open the fabric so it lays flat. Pin that 1/2" of fabric on the edge down flat.
3. Lay your zipper right-side facing down along your seam. Pin it down.
4. With your machine's zipper foot sew along both edges of the zipper, then across the bottom of it, removing pins as you go. (If you've had any trouble up to this point just google "How to sew a zipper" and you'll find lots of tutorials that probably describe it better than me.)
5. Fold the fabric back in half, right-sides together and pin it together.
6. Make it a pouch by sewing along the 3 non-zipper edges 1/2" from the edge.
7. Open the zipper, and it will still be sewn shut behind that. Using a seam-ripper take out the stitching behind the zipper so the pouch is open. With that side open, you can remove the pins and flip the pouch right-side out. If you have done everything right up to this point you will now have a functional zipper-pouch with no holes.
8. Now we'll separate the pouch into two separate areas for sand with a crease down the middle for hanging. To do this, fold the pouch in half (perpendicular to the zipper) and crease it so you can see where the middle is. Sew along that crease, stopping just shy of zipper.
9. Now you have two compartments for sand, and all that's left is to attach a strap for carrying or hanging. Take a 20" length of nylon webbing in your color of choice and sew either end to the under-side of the bag right along that middle seam you just sewed. When carrying the bag this strap will be holding the weight of the bag so make sure you sew it on securely.
(Pictured here is the finished product. The two on the left are the size I describe here. The one on the right is bigger and turned out to be way too big to be practical, so I'd stick to the size I describe or smaller.)
That's it! Open the zipper, put a zip-lock bag full of sand in each side and close it up. You'll feel a lot better putting your $400+ flash at the bottom of a stair set with a couple sandbags helping keep it upright, and having made them yourself you'll be stoked to have an extra $90 in your pocket over the guy who buys a few sandbags.
For any any questions or clarifications feel free to comment.